Android Studio has git plugin, which can make you have a well version control on your project.
In this part, I will show you how to create a new repository at Android Studio on Windows OS.
Prepare :
At the first, you should install Git for Windows.
And then, Setting git tools path for Android Studio.
File > Settings > Version Control > Git
You can click Test button to check function. Such as figure below.

Step 1 : Enable Version Control Integration(git init)
VCS > Enable Version Control Integration > select "Git"
And then, you will discovery that your project list changed color. Like figure.
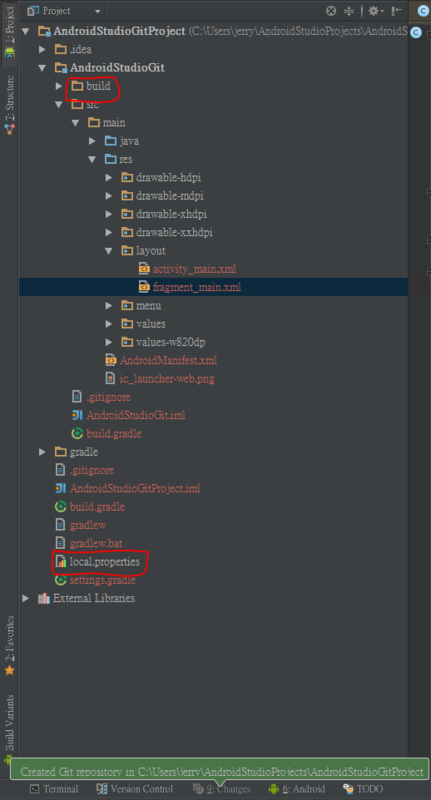
※ build folder & local.properties doesn't added.
Step 2 : Git Add Remote
In this step, Android Studio doesn't provide GUI to work, We should use Git for Windows tool.
Go find Git Bash in git folder.
- Git Bash > Go to Project folder
- Git Bash > key in add remote command
Ex: git remote add origin git@192.168.0.1:user/android-studio-git.git

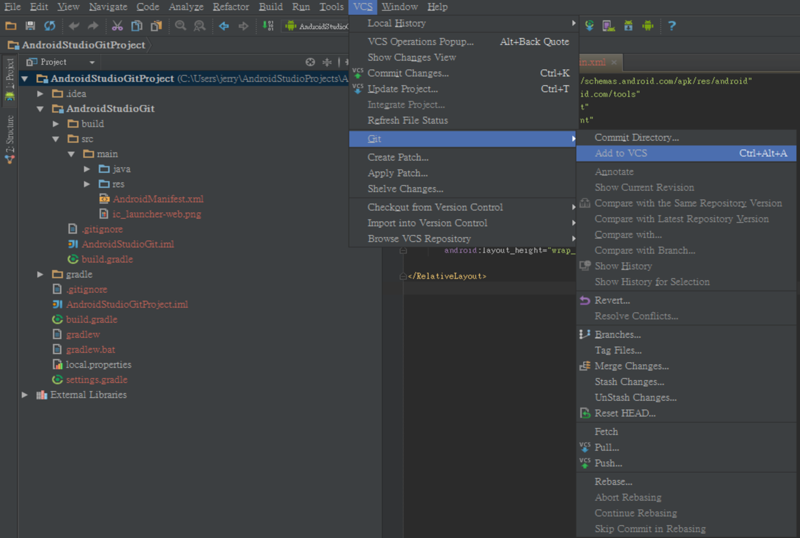
Step 3 : Add to VCS(git add)
Select <project/file> > VCS > Git > Add to VCS
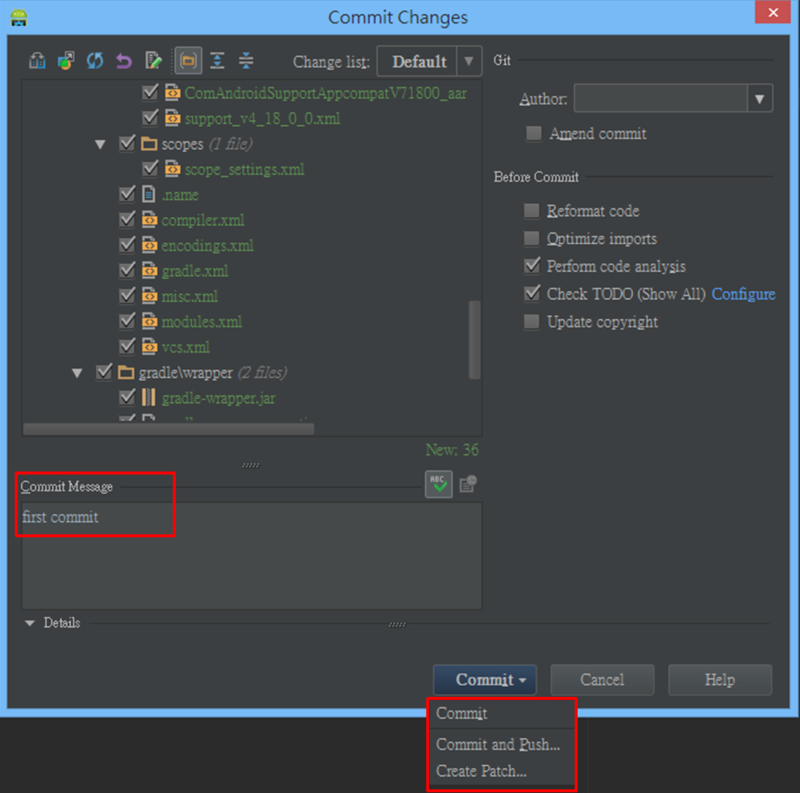
Step 4 : Commit Changes(git commit)
VCS > Commit Changes...
Write down commit message, then choose commit.
If you select Commit and Push..., the git push window will pop up.
Step 5 : Git Push(git commit)
VCS > Git > Push
If your repository is empty, you must select Push current branch to alternative branch
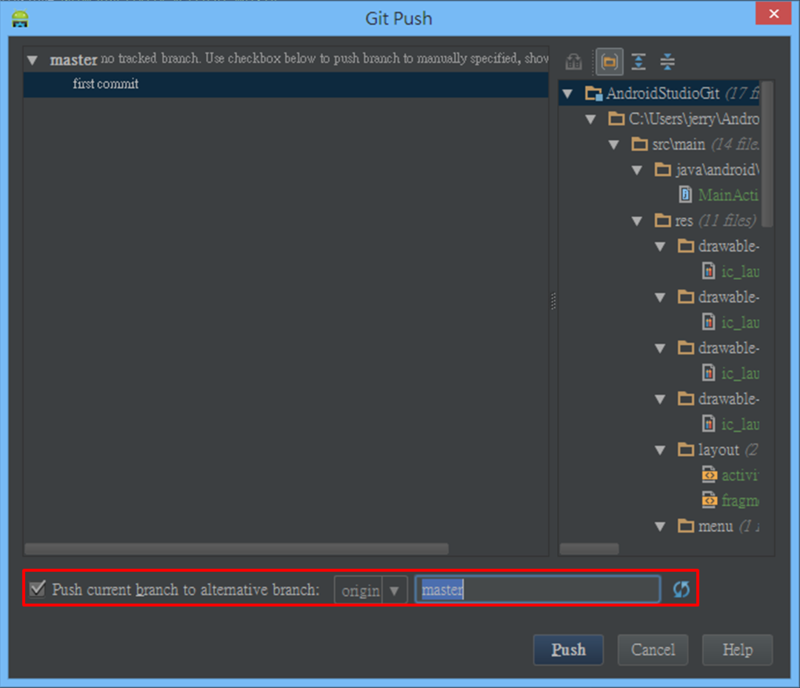
If push completely, you will see Push Secessfully at the bottom of Android Studio.
No comments:
Post a Comment